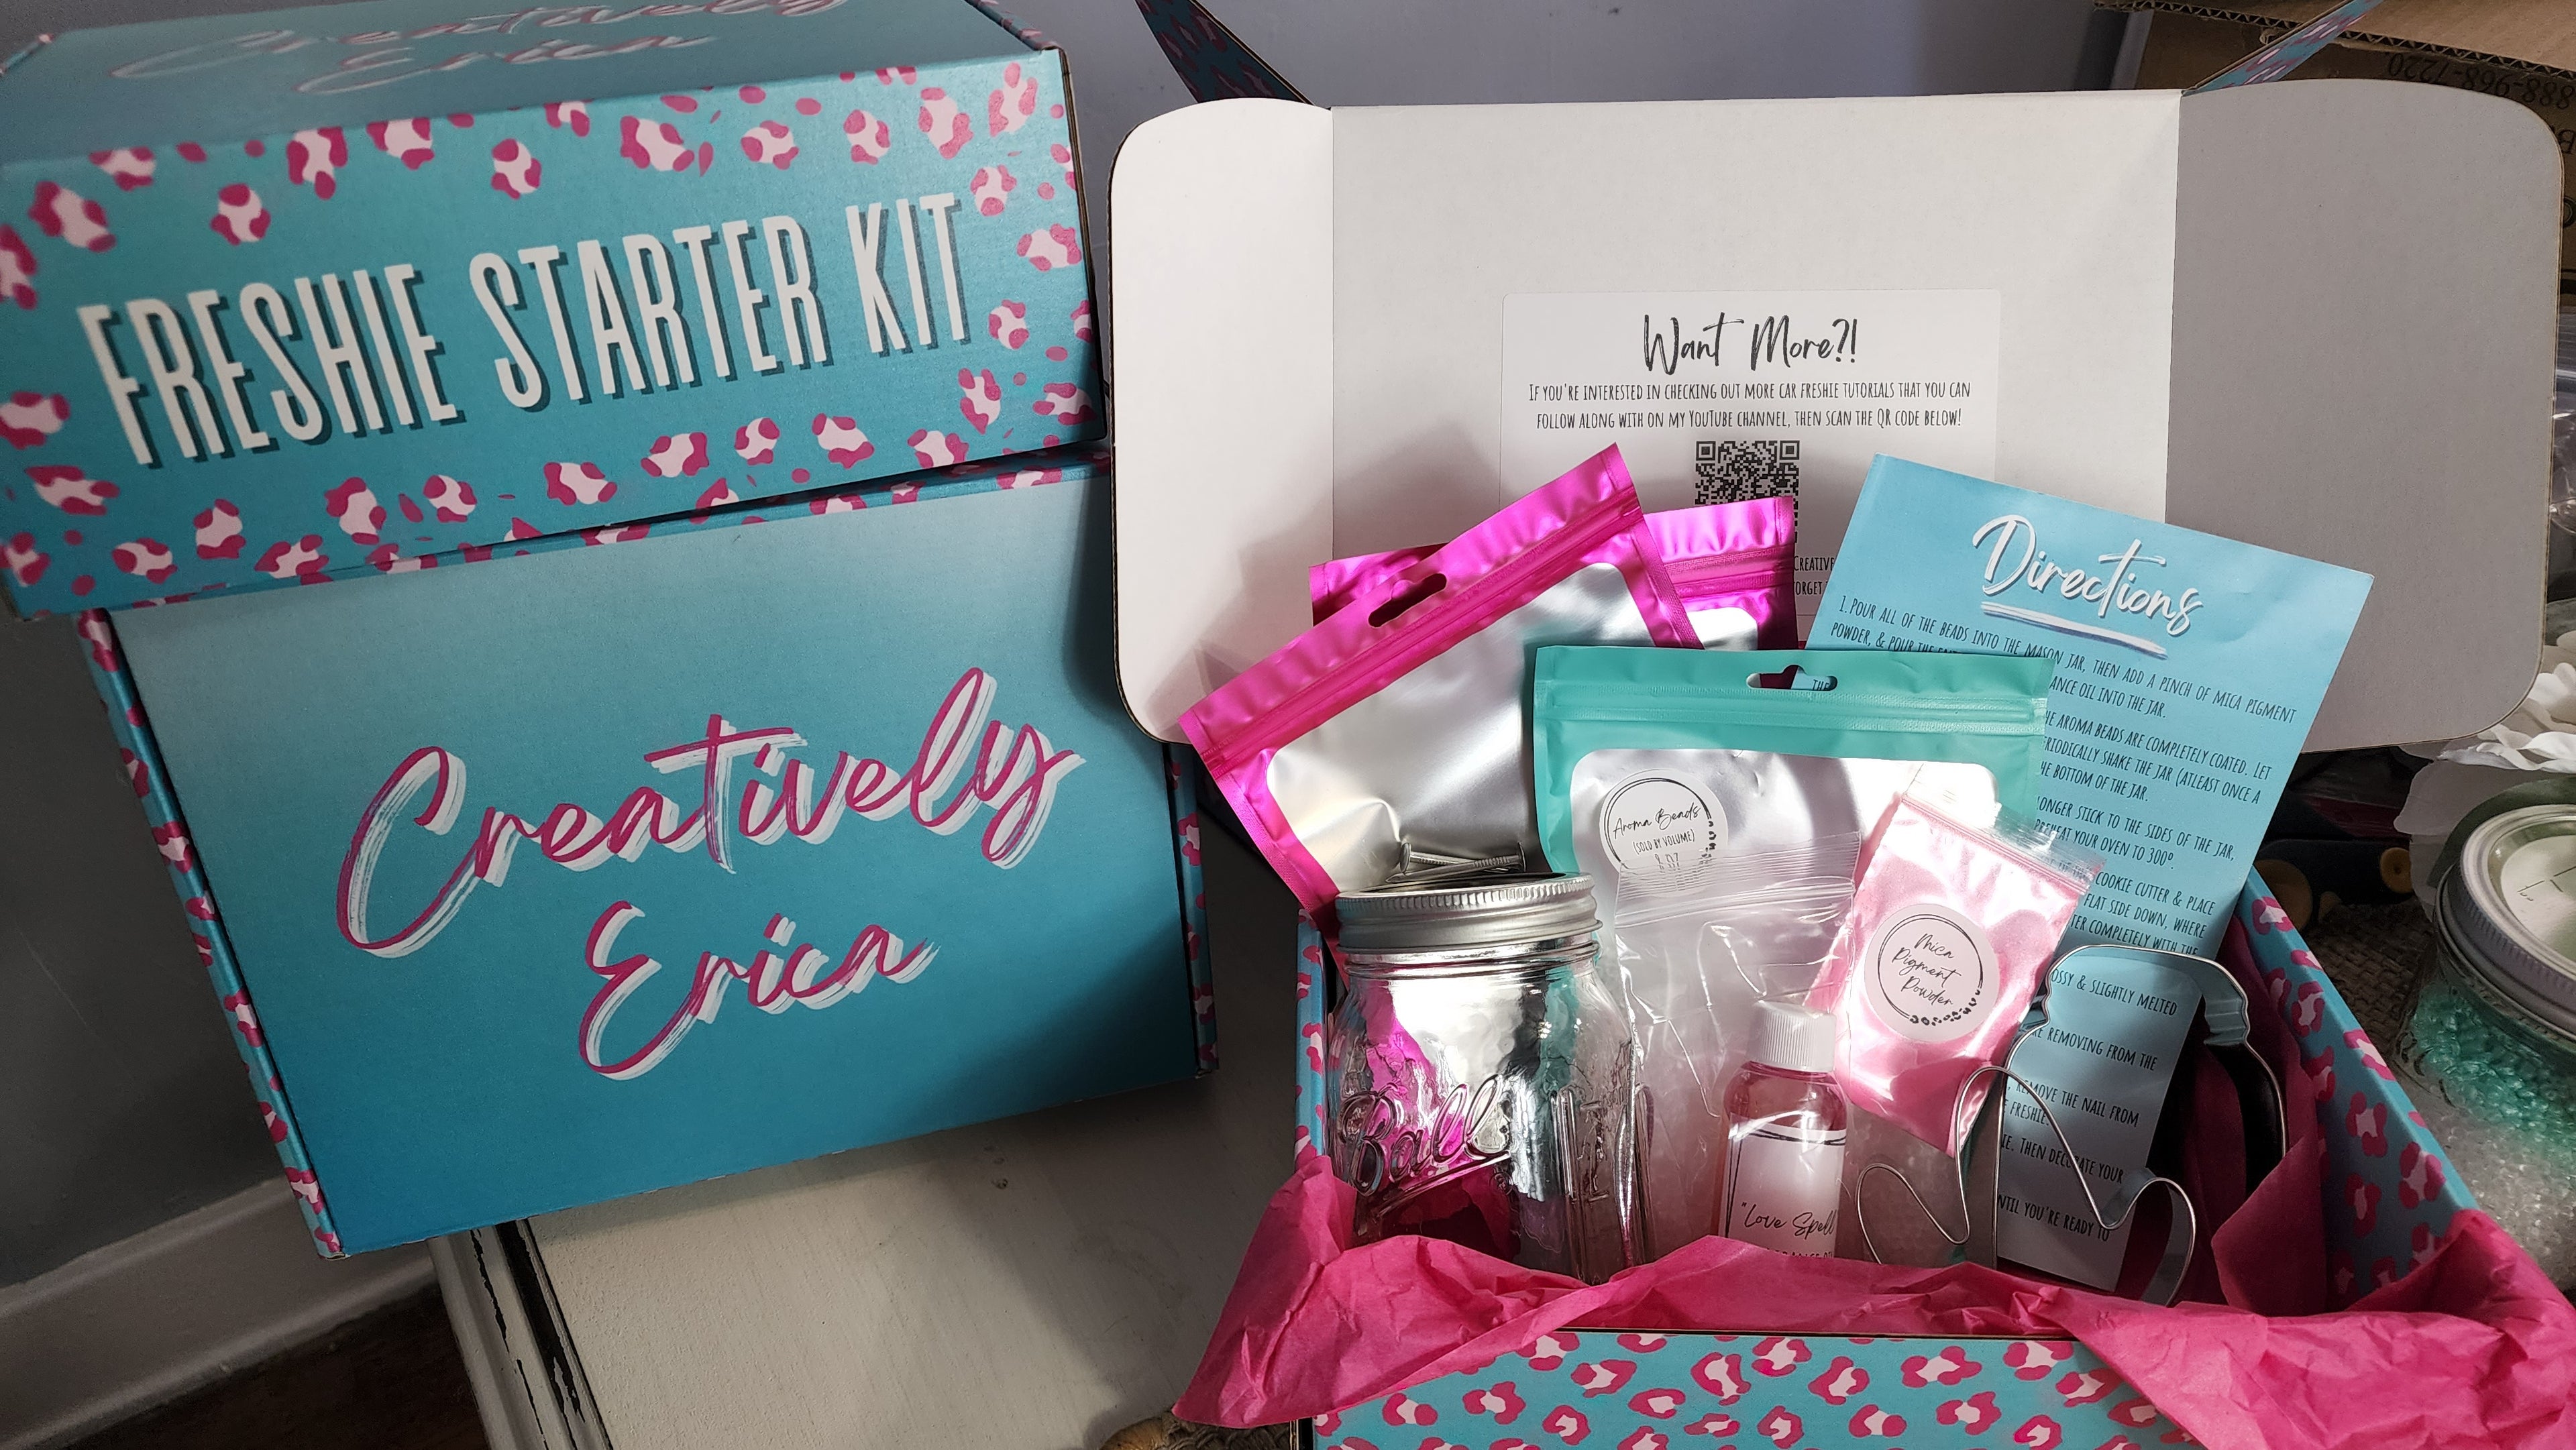
Directions using Starter Kit
1.Pour all of the beads into the mason jar, then add a pinch of mica pigment powder, & pour the entire bottle of fragrance oil into the jar.
2.Close the jar & shake well until all of the aroma beads are completely coated. Let the Beads cure (apx one week), be sure to periodically shake the jar (atleast once a day) so the oil & pigment doesn't settle at the bottom of the jar.
3.Once the beads are no longer oily & no longer stick to the sides of the jar, they're cured & ready to be baked into freshies! Preheat your oven to 300º.
4.Spritz some nonstick cooking spray on the inside of our cookie cutter & place on a nonstick baking sheet. Then set the nail on the pan, flat side down, where you want the hole in your freshie to be. Fill your cookie cutter completely with the aroma beads.
5.Bake in oven for 10-12 minutes until the beads look glossy & slightly melted together.
6.Once baked, let the freshie cool down to room temp before removing from the cookie cutter.
7.After you've removed the freshie from the cookie cutter, remove the nail from the freshie. Then trim down all the jagged edges around the freshie.
8.Thread & tie the elastic string through the hole of the freshie. Then decorate your freshie however you like (optional).
9.You're all done- Now put your freshie in one of the bags until you're ready to use!